Contents
How to Register with Remember Me (Free)
How to Modify Account Settings
How to Quickly Add a Verse to Remember Me
How to Open a Verse Card
How to Edit a Verse
How to Delete a Verse
How to Add a Label to a Verse
How to Sort Verses in a Section
How to Filter Verses
How to Move Verses between Sections
How to Play Verses
How to Open Study Mode
How to Import Collections
How to Publish Your Verse Collection
How to Export Verses
How to Change the Text Size
How to Sync between Devices
How to Add Accounts
How to Switch between Accounts
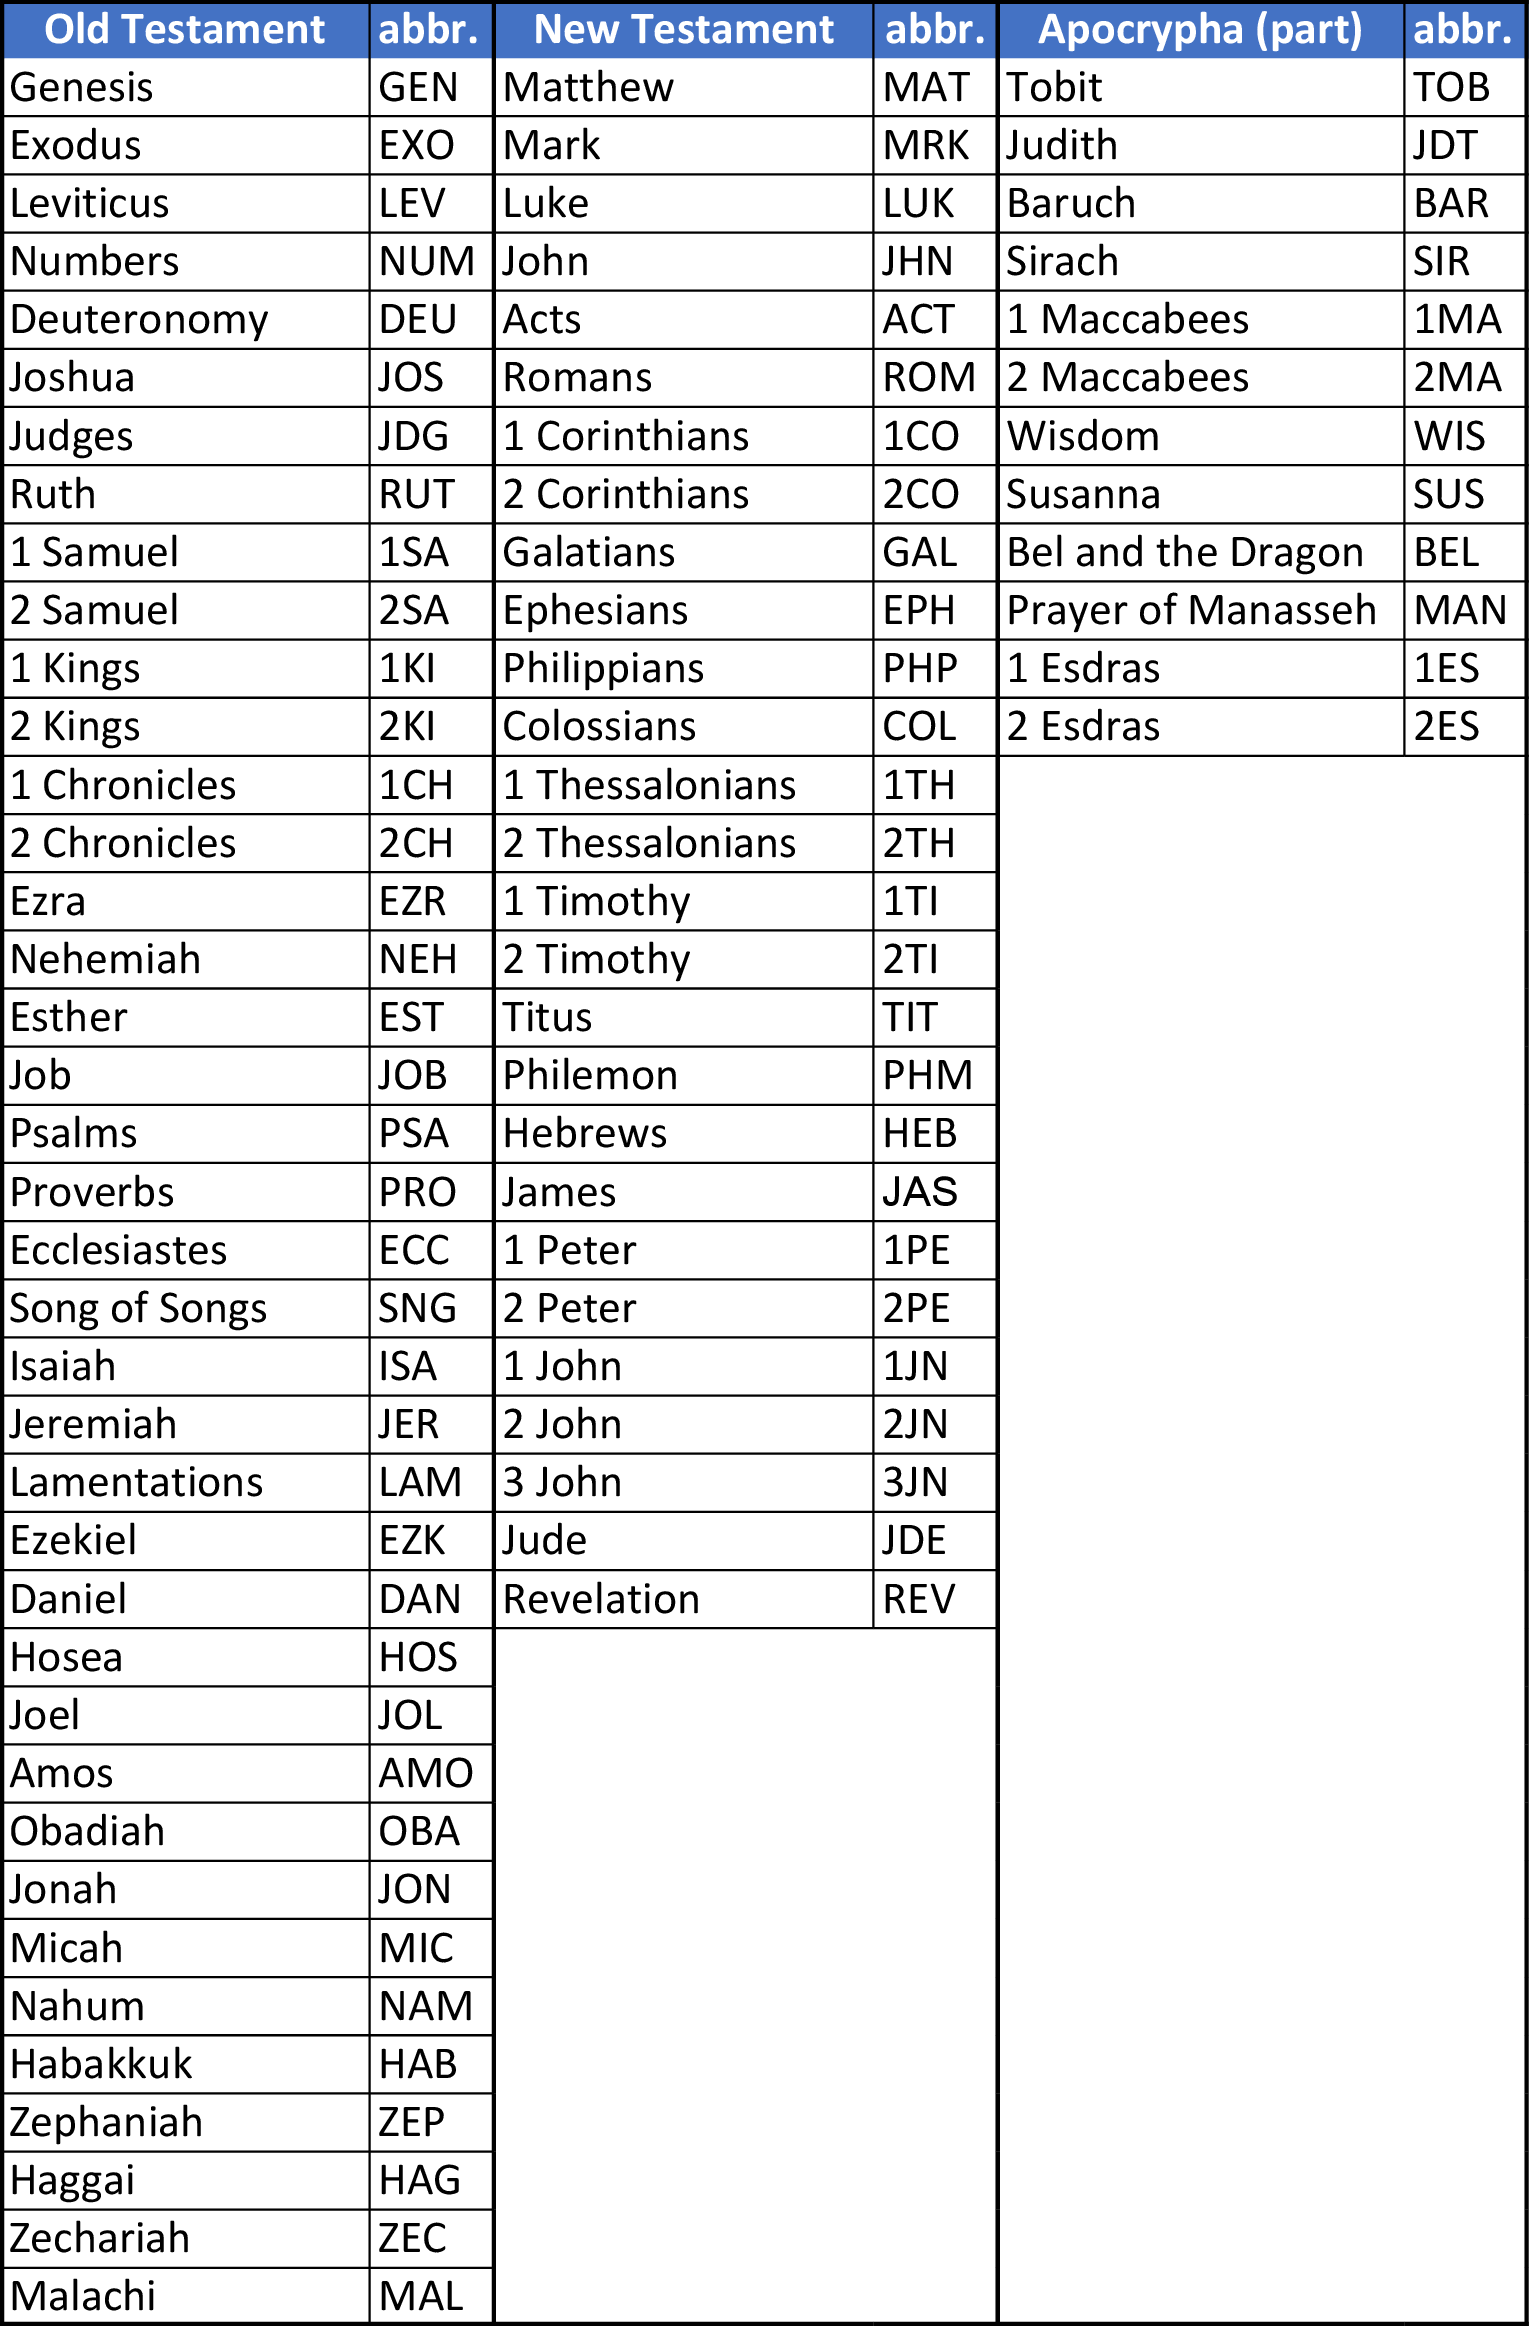
Bible Book Abbreviations
Notes:
- Remember Me is still in development, so what you see on your device may differ slightly from the images in this user guide.
- To show tooltips on the app,
- Long-press the icon (Android/iPhone app)
- Hover over the icon (Web version)
- When something is not working as supposed to be, try the following:
- For Android/iPhone app: Restart the app or restart the phone
- For the Web version: Refresh the browser, clear the browser cache, or remove the Remember Me’s cookie (remem.me) and log back in
How to Register with Remember Me (Free)
To register as a Remember Me user:
Go to web.remem.me.
Tap (or click) GET STARTED. (Swipe up if you don’t see the button.)

Enter your email address and password. Tap REGISTER at the bottom.
Tap (or click) the link on the activation email you’ll receive.
Tap LOG IN at the upper right.

- If you are not using an Android or iPhone app, tap at the top left on the “Registration Completed” page or access web.remem.me, where you’ll see LOG IN at the top.

- Enter your email address and password, and tap LOG IN at the bottom.
See “Register and Log In a User” for more information.
[Back to Top]
How to Modify Account Settings
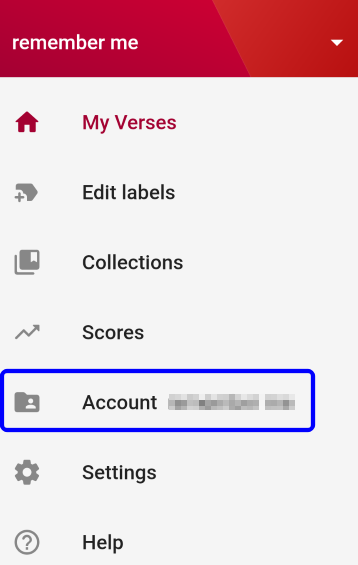
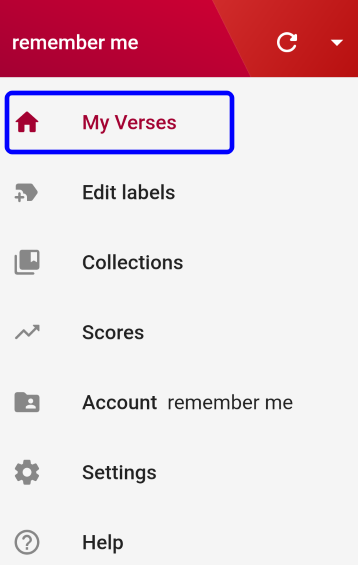
Tap to show the main navigation bar on the left (if not shown already).

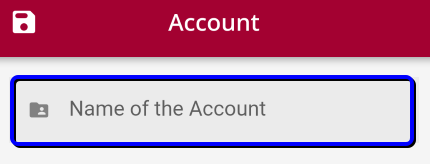
Select Account with your account name (usually the left part of @ of your email address).
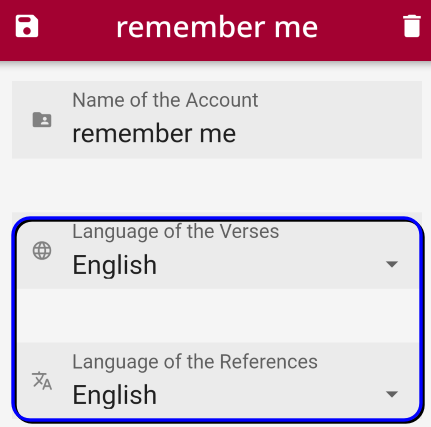
Select a language of verses and references, and other settings as needed.
If you turn on Include Reference in Learning, the Book name, the chapter and verse number(s) appear under the verse text on the flashcard.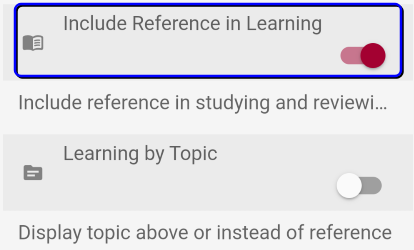
Tap on the upper left to save the account settings.

See “Users and Accounts” for more information. [Back to Top]
How to Quickly Add a Verse to Remember Me
You can copy any verses from the Bible websites to Remember Me with a few taps.
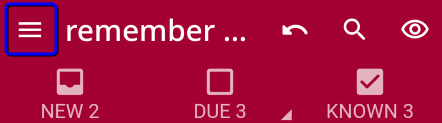
Tap to show the main navigation bar on the left (if not shown already).

Tap My Verses.
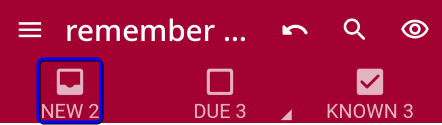
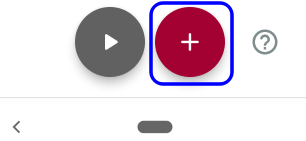
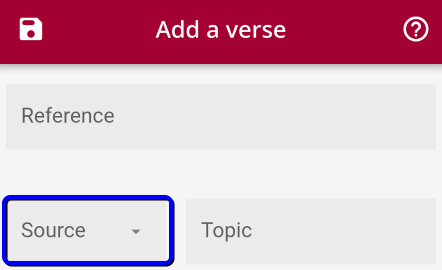
In the NEW section, tap at the bottom.
Tap on the Source box and select a Bible version from the dropdown list. Instead, you can type a three-letter Bible abbreviation in all capitals (e.g., ESV).
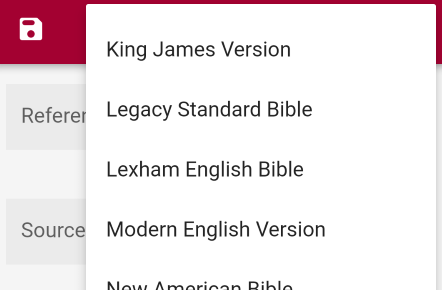
- If you want to select Bibles in other languages, we suggest you create separate accounts for each language. (See “How to Add Accounts”)
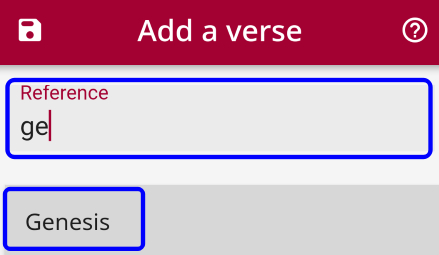
Type a Book name in the Reference box at the top. Once the name is recognized, the complete Book name (e.g., “Genesis”) appears below the Reference box. Tap (or press the Enter key) the Book name. Usually, the Book name is recognized after you start typing the first few words. (Refer to “Bible Book Abbreviations”)
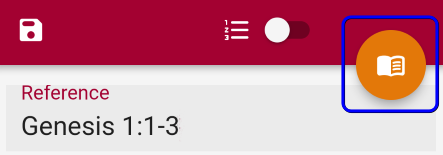
Enter a chapter number, followed by a colon and verse number(s) (e.g., Genesis 1:1-3).
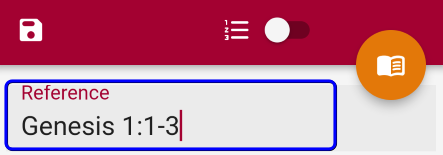
As soon as you enter a chapter number, the orange Bible button appears at the top right. Tap the orange Bible button.
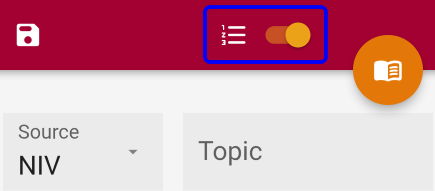
If you want to include the verse number(s), slide the toggle button to the right.
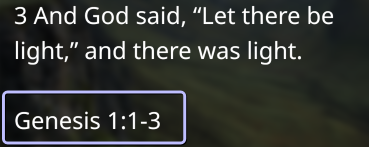
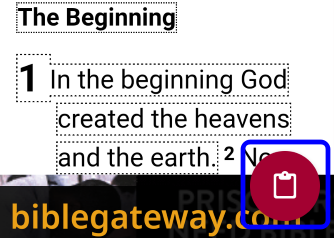
You’ll be directed to a Bible website with the chapter/verses of the Bible version you selected. Tap the red paste button at the bottom right to copy the text.
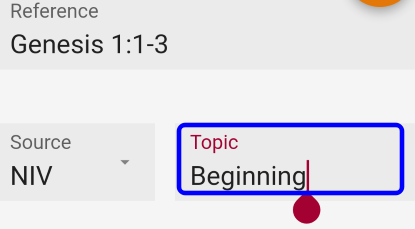
The verse has now been copied to the Passage section on the app. Edit the text as needed.

You can add a topic name if you like.
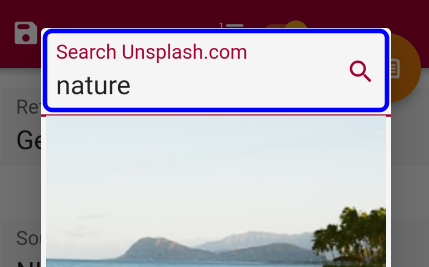
You can also add an image to each of your verse cards. If you tap the image icon on the right in the Image URL box, you can insert a photo image from Unsplash.com. Enter a keyword of images you want in the search box. Tap an image you want to insert.

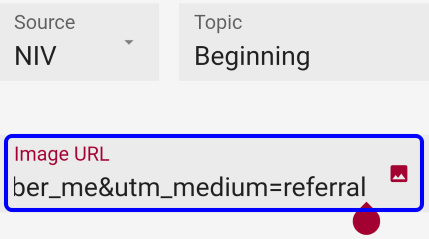
The URL of the Unsplash image is inserted in the Image URL box. Instead, you can type any other image URL of your choice.
Tap at the top left to save the verse card.
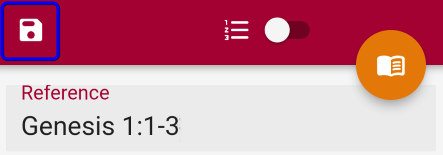
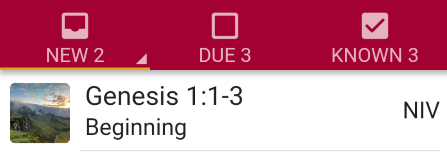
The verse has now been added to the NEW section.
See “Managing Bible Memory Verses” for more information. [Back to Top]
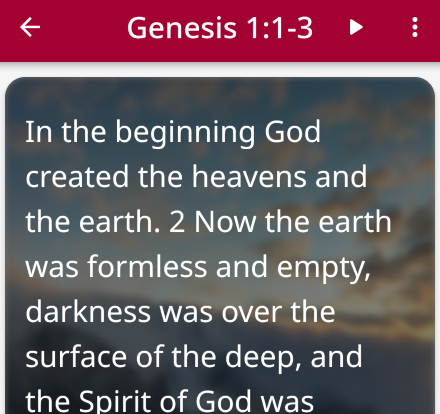
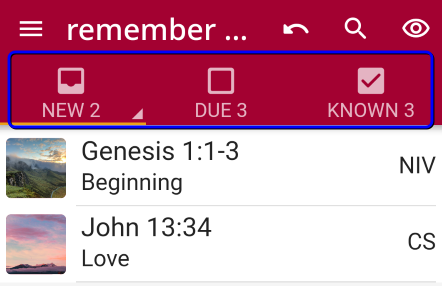
How to Open a Verse Card
To open the flashcard’s front side, tap the verse’s right part (not the badge). If you want to open the back side of the card directly, long-press this part.
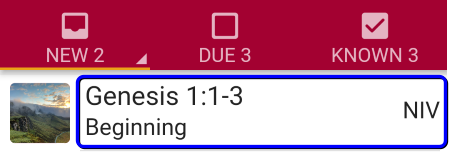
The reference (Book name and chapter/verse numbers) side of the card opens in the case of the NEW section. The topic and label names may also show depending on the settings.
To flip the card, tap the card (or tap at the bottom right). The verse side appears (in the case of the NEW section). Tap the card again to flip the card.
How to Edit a Verse
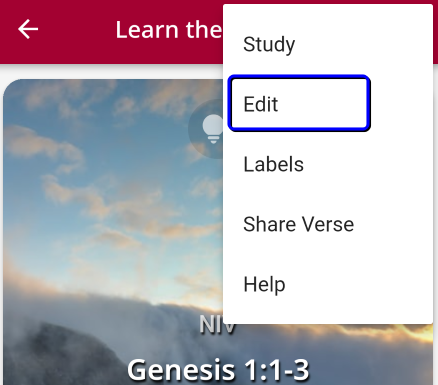
Tap (Show menu) at the top right corner of either side of the flashcard. Select Edit.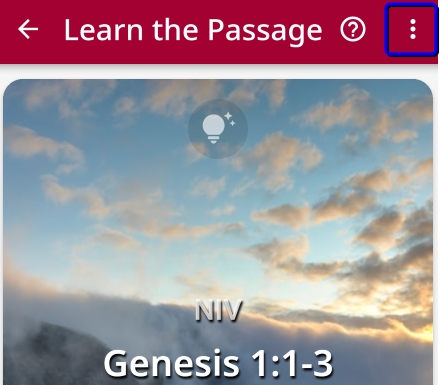
See “How to Quickly Add a Verse on Remember Me” for how to edit a verse.
[Back to Top]
How to Delete a Verse
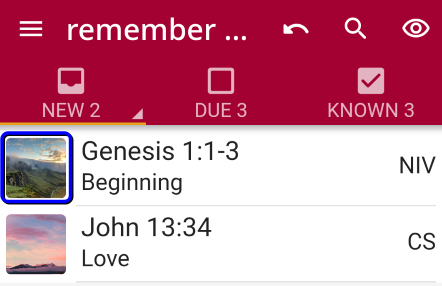
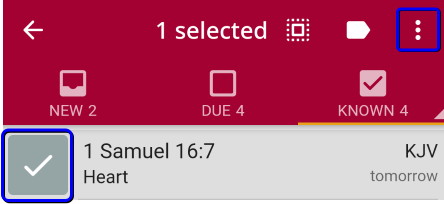
Tap the badge of the verse in the list view to select a verse.
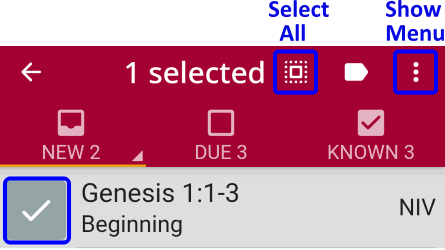
The badge changes to a checkmark when selected. If you want to select all verses in the section, tap (Select all). To deselect, tap the badge again. Tap (Show Menu) at the top right corner.
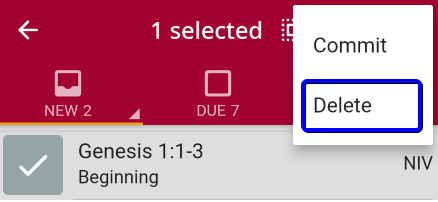
Tap Delete. (Each section has a different menu, but Delete is available in all sections.)
How to Add a Label to a Verse
A level allows you to group verses and share them in public as your verse collection.
Tap the badge of a verse to select a verse. Tap (Add/remove labels).

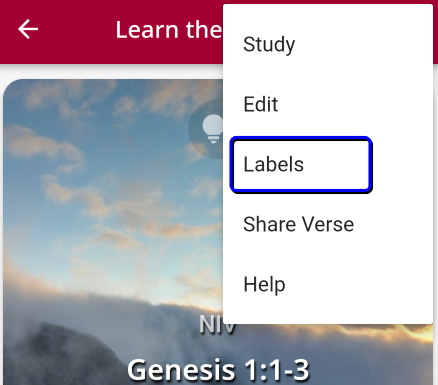
Alternatively, while either side of the flashcard is open, tap (Show menu) at the top right. Select Labels.
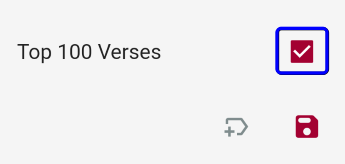
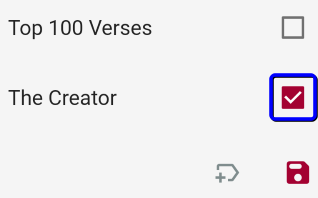
To choose an existing label, select the checkbox.
To create a new label, tap
 (Add a label).
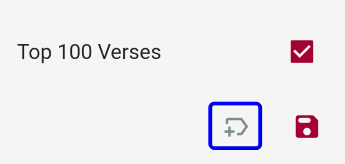
Type a label name. Tap at the bottom to save the label.
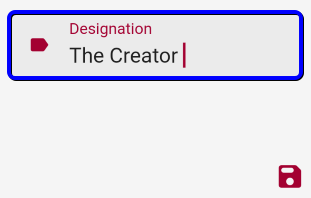
Select the checkbox and tap to save.
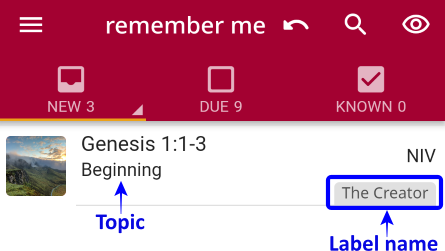
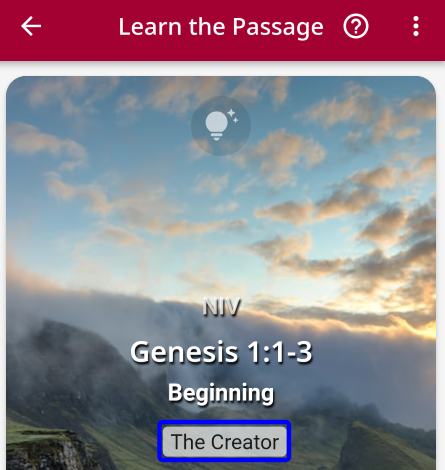
The label name is shown at the bottom right of the verse and the bottom of the card.
See “Grouping and Filtering by Labels” for more information. [Back to Top]
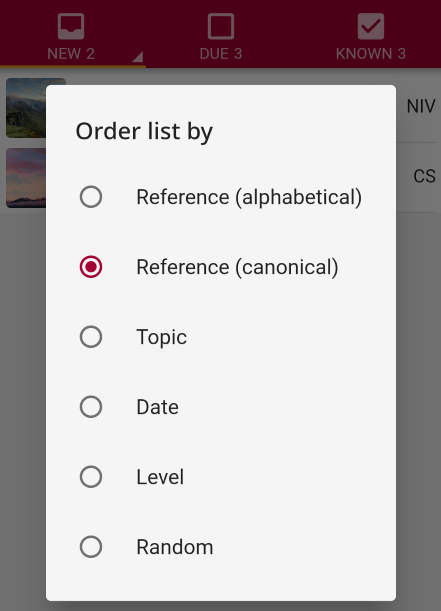
How to Sort Verses in a Section
- Tap the current section tab. To find out which section you are in now, look for the triangle button
 and an orange underline on the section tab.
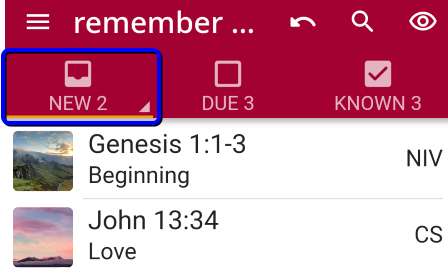
- Sort verses in the section by your desired order.
[Back to Top]
How to Filter Verses
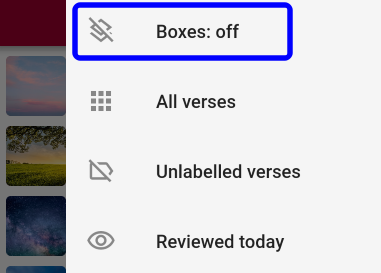
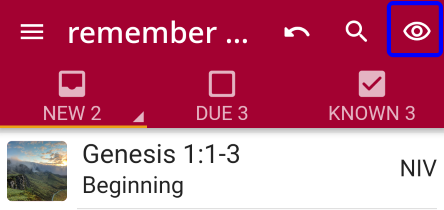
Tap (Show/hide labels) on the upper right.

Filtering options appear. Under this standard menu, the labels you created will also be listed so you can filter by label.
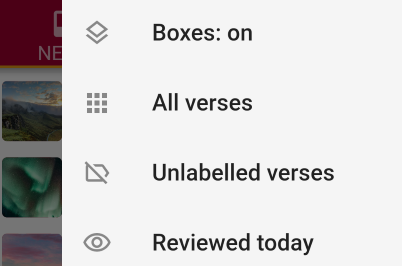
When Boxes is On, the verses are shown in separate sections (New, Due, and Known).
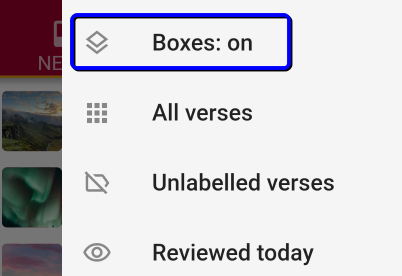
When Boxes is Off, all the verses are shown together in one section.

See “Filter Verses by Label” for more information. [Back to Top]
How to Move Verses between Sections
Swipe the verse to move it to the section to the right while the verse side of the card is open.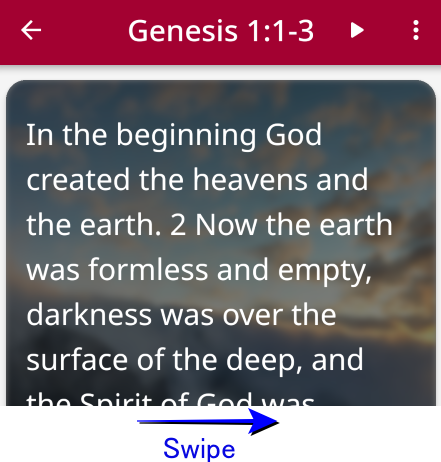
If you want to undo the action right after that, tap to undo the action.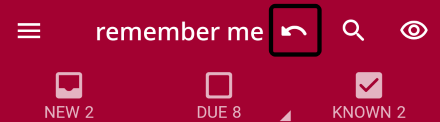

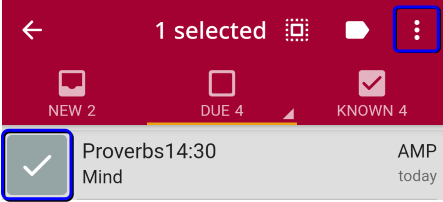
You can also display options to move the verse(s) between sections from (Show Menu) while the card(s) is selected in the list view.
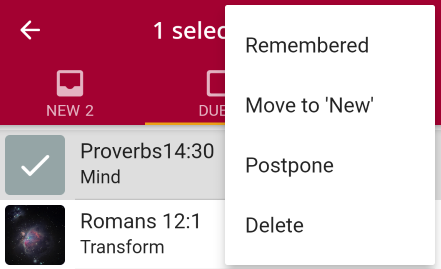
- To move a verse from the DUE section:
In the DUE section, tap the badge of the verse to select it. (Tap again to deselect it.)
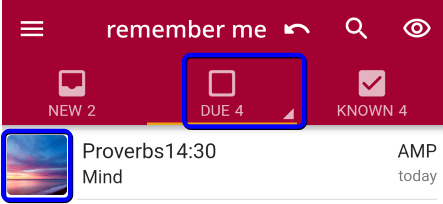
Tap at the top right corner.
To move the verse(s) back to NEW, tap Move to ‘New.’ To move the verse(s) to KNOWN, tap Remembered.
- To move a verse from the KNOWN section:
In the KNOWN section, tap the badge of the verse to select it. (Tap again to deselect it.)
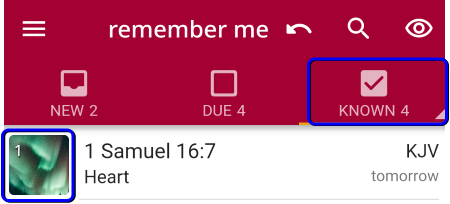
Tap at the top right corner.
You can move the verse(s) back to the ’NEW’ or ’DUE’ section.

How to Play Verses
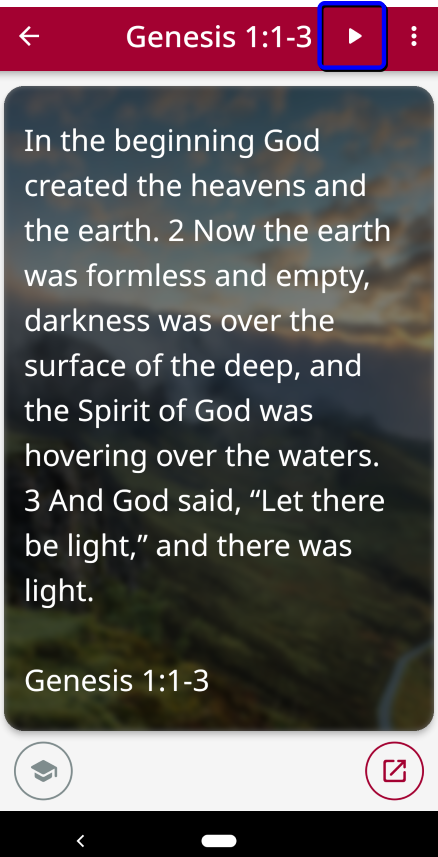
To play a verse, tap at the bottom of the list view or at the upper right on the verse side of an individual card.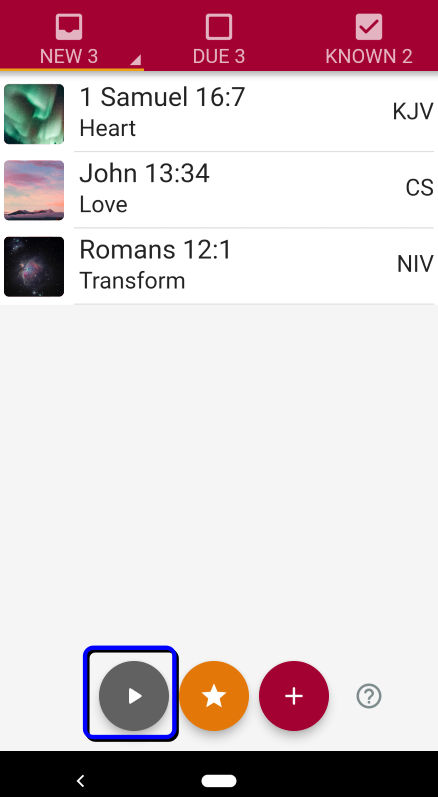
Control buttons such as and appear while playing.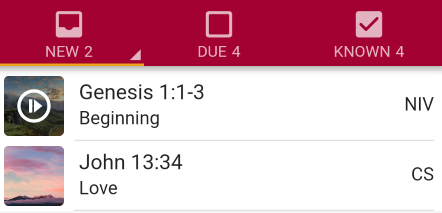

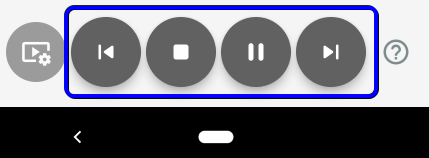
Tap to adjust speech settings.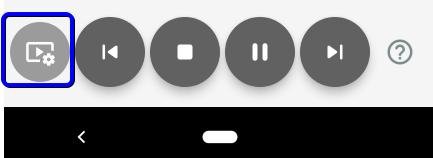

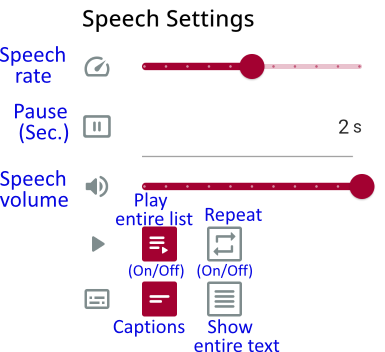
See “Audio Features” for more information. [Back to Top]
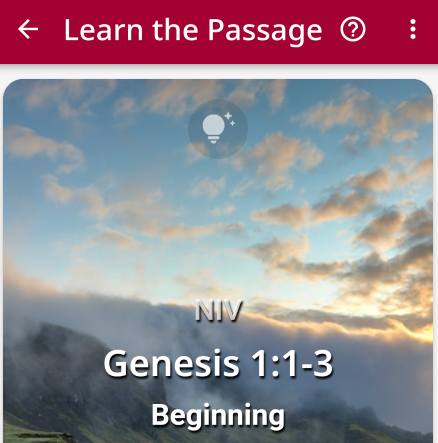
How to Open Study Mode
Tap at the bottom left of the flashcard.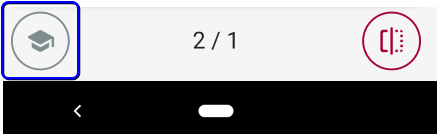
Select a study game you want to play.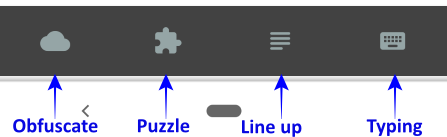
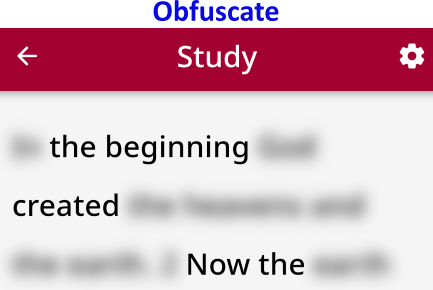
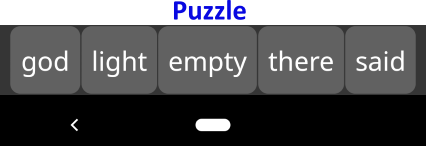
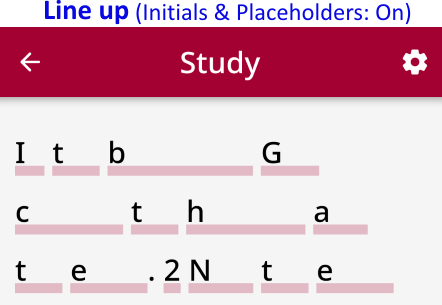
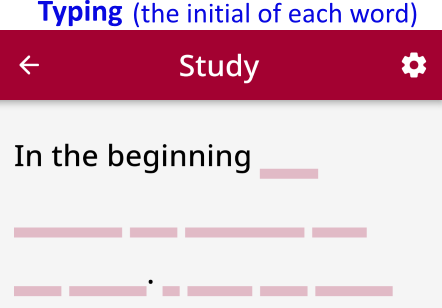
Tap to adjust settings.
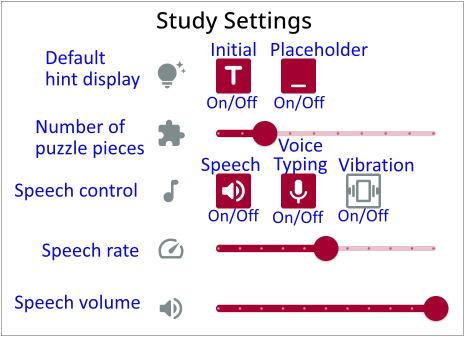
See “Studying and Reviewing Scripture Memory Verses” for more information.
[Back to Top]
How to Import Collections
You can import verses published by others, and you can publish your verses.
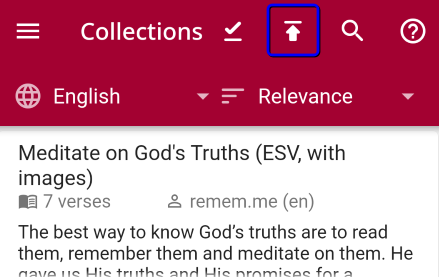
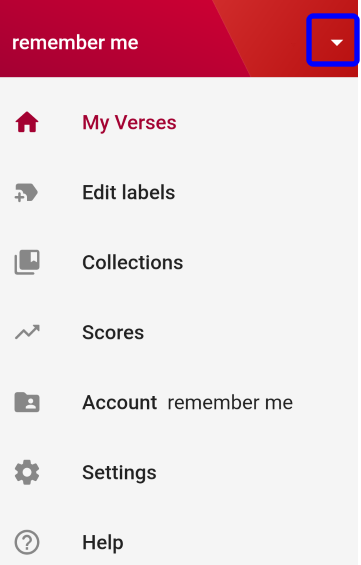
Tap Collections on the main navigation bar on the left.
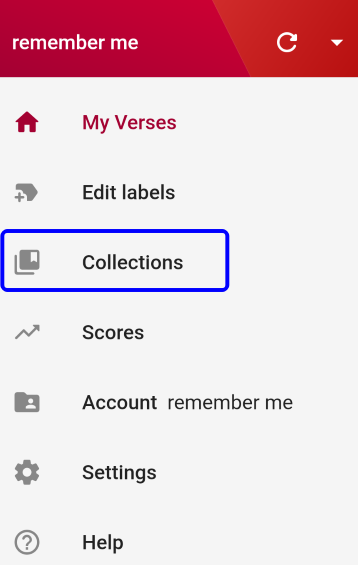
The listing of collections published by other users appears.
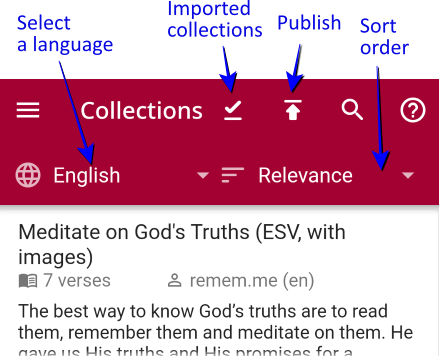
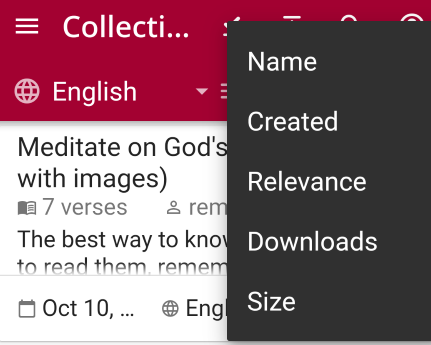
Tap to search for your desired theme. You can also sort the collections. Tap “Relevance” (default sort setting) to view sort options.
Tap a collection to view the details. Tap to import the collection to My Verses in your current account.
See “Importing and Sharing Bible Verse Collections” for more information.
[Back to Top]
How to Publish Your Verse Collection
To publish your verses as a collection, you need first to add labels to your verses to group verses. (See “How to Add a Label to a Verse”)
Tap at the top.
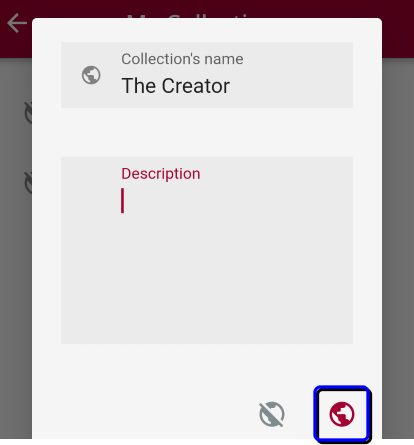
Your label names (if any) appear as your collections. Tap a collection you want to publish.

Enter the description. The minimum length is 10 characters. Tap at the bottom right to publish.
The icon in My Collections changes to after publishing. Tap if you want to share your collection with someone individually.
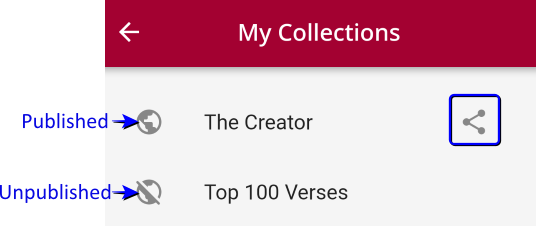
To unpublish, open the collection and tap at the bottom.
See “Publish a Collection of Bible Scriptures” for more information. [Back to Top]
How to Export Verses
You can export and import verses stored in Remember Me in CVS format.
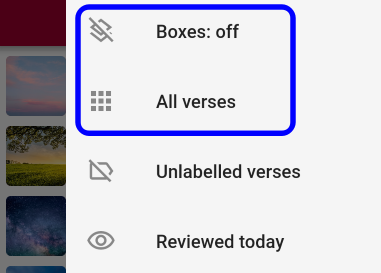
Tap at the top right corner.
If you want to export all verses in all sections, Turn the Boxes off and select All verses.
Tap file_open on the upper right corner. (This menu is available on mobile apps only)
.png)
To export, tap Export to file.
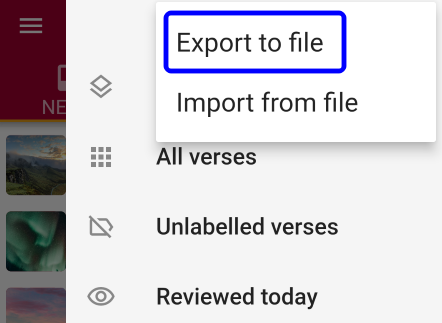
Select an app or a drive to export as a CVS file.
- To import verses, tap Import from file. The file must be a CVS file in the same format and stored in a local folder. (For Android, store the importing file in a local folder other than the Download folder.) [Back to Top]
How to Change the Text Size
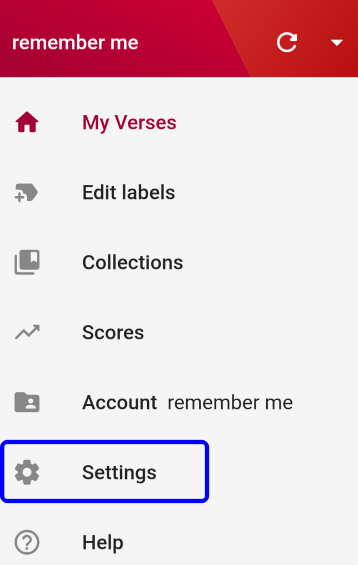
Tap Settings on the main navigation bar. (If the navigation bar is not shown, tap on the upper left.)
Tap General Settings.
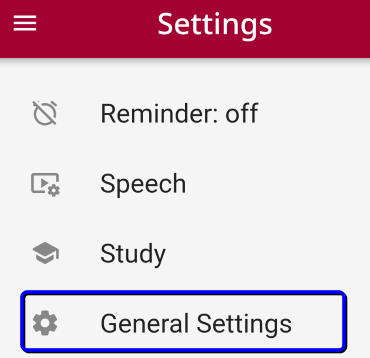
Adjust the text size in .

How to Sync between Devices
Tap to open the main navigation bar (if not open yet).

Tap (or a similar icon) at the top of the main navigation bar. (Available on mobile apps only)

See “Synchronising Multiple Devices” for more information. [Back to Top]
How to Add Accounts
A user can have one or more accounts for different purposes.
Tap to show the main navigation bar on the left (if not shown already).
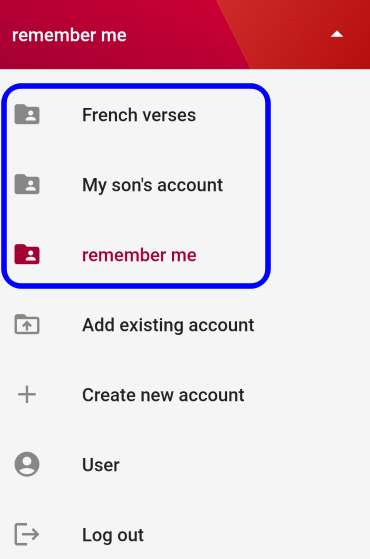
Tap at the upper right.

Note that the triangle is changed to in the account navigation bar.

Tap Create New Account.

Enter an account name.
Select a language of verses and references, and other settings as needed.
Tap on the upper left to save the account settings.

See “Multiple Verse Accounts” for more information. [Back to Top]
How to Switch between Accounts
Tap on top right of the main navigation bar.
Tap one of your accounts in the account navigation bar.
Tap to return to the main navigation bar (if necessary).

[Back to Top]